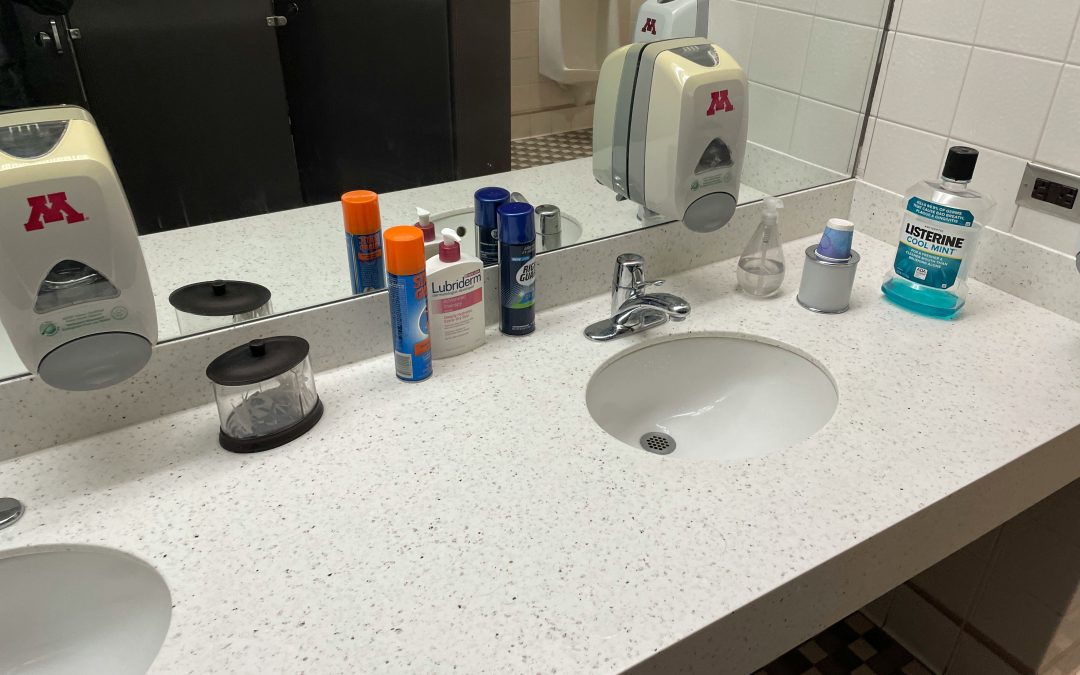
School bathrooms are some of the most frequently used spaces in any educational facility. With hundreds of students and staff using them daily, they can quickly become breeding grounds for germs, odors, and dirt if not maintained properly. Knowing how to properly clean a school bathroom is essential not just for appearance but for health and safety. A clean restroom helps prevent illness, improves hygiene habits among students, and creates a more pleasant environment for everyone.
Here’s a complete step-by-step guide to cleaning and maintaining school bathrooms effectively and safely.
Why Proper Cleaning Matters
Bathrooms in schools are high-traffic areas with multiple contact points — sinks, handles, toilets, and floors — all of which can harbor bacteria and viruses. Regular and proper cleaning:
- Reduces the spread of infectious diseases like colds, flu, and stomach viruses.
- Eliminates unpleasant odors and stains.
- Promotes good hygiene habits among students.
- Extends the life of fixtures and surfaces by preventing buildup and corrosion.
Maintaining consistent cleaning routines ensures a safe, healthy environment that supports both learning and well-being.
Step 1: Gather the Right Supplies and Equipment
Before you start, make sure you have all necessary cleaning materials and protective gear ready. Using the right products prevents cross-contamination and ensures efficient cleaning.
Essential cleaning supplies include:
- Disinfectant cleaner (EPA-approved for schools or institutions)
- Multi-surface cleaner and glass cleaner
- Toilet bowl cleaner
- Microfiber cloths and mop heads
- Scrub brushes and sponges
- Buckets and spray bottles
- Disposable gloves and safety goggles
- Wet floor signs
- Trash bags and liners
- Paper towels or hand dryers (for restocking)
Pro Tip: Always label chemical containers properly and never mix different cleaning agents, especially bleach and ammonia, as they produce toxic fumes.
Step 2: Ensure Safety and Preparation
Start by making the cleaning area safe for both staff and students.
- Block off the area: Place “Closed for Cleaning” or “Wet Floor” signs at each entrance.
- Wear protective gear: Use gloves, masks, and goggles to protect from splashes and chemicals.
- Ventilate the area: Open windows or turn on exhaust fans to reduce fumes and odors.
- Remove trash: Empty all waste bins, replacing liners with clean ones. Dispose of used paper towels and other debris.
Step 3: Clean High-Touch Surfaces First
Focus on areas that are touched most frequently since they harbor the most bacteria. These include:
- Door handles and latches
- Light switches
- Faucets and sink handles
- Soap dispensers
- Toilet flush levers
- Paper towel dispensers and hand dryers
Spray each surface with disinfectant cleaner and let it sit for the recommended dwell time (usually 5–10 minutes) to kill germs effectively. Wipe clean with a fresh microfiber cloth.
Step 4: Scrub and Disinfect Toilets and Urinals
Toilets and urinals need extra care due to heavy use and exposure to bodily fluids.
Cleaning procedure:
- Apply toilet bowl cleaner inside the bowl and under the rim.
- Let it sit for a few minutes to break down stains and bacteria.
- Scrub thoroughly using a toilet brush, focusing on the waterline and under the rim.
- Flush to rinse, then spray disinfectant on the outer surfaces — including the seat, lid, handle, and base.
- Wipe dry with a clean cloth.
For urinals, use the same process, paying attention to the drain area where odors often originate.
Tip: Use color-coded cloths or tools — for example, red for toilets and blue for sinks — to avoid cross-contamination.
Step 5: Clean Sinks, Mirrors, and Counters
Sinks and countertops collect toothpaste, soap scum, and grime throughout the day.
- Spray a non-abrasive cleaner on the sink, faucet, and countertop.
- Scrub away buildup using a sponge or brush.
- Rinse thoroughly with clean water and wipe dry.
- Clean mirrors with glass cleaner to remove streaks and water spots.
Replace soap if dispensers are low and restock paper towels or check hand dryers for proper operation.
Step 6: Tackle the Floors
Bathroom floors can accumulate dirt, water, and bacteria, making them one of the most critical areas to clean properly.
Steps for clean floors:
- Sweep or vacuum to remove loose dirt and debris.
- Mop using a disinfectant floor cleaner mixed according to label directions.
- Start from the farthest corner and move toward the exit to avoid walking on clean areas.
- Pay extra attention to corners, grout lines, and under partitions where water often pools.
- Let the floor air dry completely before reopening the restroom.
Use a separate mop and bucket exclusively for bathroom cleaning to prevent spreading germs to other areas of the school.
Step 7: Inspect and Restock
Once the cleaning is done, perform a quick inspection. Check for:
- Stains or missed spots on mirrors, floors, or fixtures
- Unpleasant odors that may need additional deodorizing
- Leaking faucets or running toilets that waste water
Restock the essentials: toilet paper, soap, paper towels, sanitary supplies, and hand sanitizer.
Step 8: Establish a Cleaning Schedule
Consistency is key to maintaining hygiene. Depending on the size and usage of the restroom, schools should have a set cleaning routine:
- Light cleaning: Several times a day (trash removal, surface wipe-downs, restocking).
- Deep cleaning: Once daily or multiple times a week (full disinfection and scrubbing).
- Periodic maintenance: Weekly or monthly checks for plumbing issues, mold, or tile damage.
A cleaning log should be maintained to track when and who performed the last cleaning. This promotes accountability and consistency.
Step 9: Maintain Equipment and Supplies
Clean and disinfect your tools after each use. Rinse mop heads and brushes, let them dry completely, and replace them regularly to prevent bacteria buildup. Store cleaning products safely, away from students, and according to manufacturer instructions.
Additional Tips for School Bathroom Hygiene
- Encourage students to practice good hygiene, such as washing hands properly.
- Use touch-free dispensers and flush systems to reduce contact points.
- Install air fresheners or automatic odor-control systems.
- Schedule inspections throughout the day during peak school hours.
Final Thoughts
Learning how to properly clean a school bathroom ensures a safer and healthier environment for students, teachers, and staff. By following a structured cleaning routine, using the right products, and prioritizing sanitation, schools can prevent illness outbreaks and maintain a positive reputation for cleanliness.
A spotless restroom not only reflects good maintenance practices but also teaches students the importance of hygiene — a valuable lesson that extends far beyond the classroom.